Basic Elements of the Camera
Every camera no matter the age or the cost shares certain elements. But from the lens to the shutter, each camera is unique in its own way.
Lens
The Lens of the camera is made up of layers of glass. Each layer is a different element that directs the path of the light coming in to recreate the image as accurate as possible. The goal for the lens is to minimize the aberrations, while using the fewest and least expensive elements.
Optical aberations happen when points in the photo do not translate back onto single points after passing through the lens. When this happens is causes the image to be blurry or reduced in contrast. Lenses can have decreasing brightness (vignetting) or distortion.
Aperture
The aperture, located inside of the lens, is a series of blades which change the amount of light that passing through the lens. The basic unit to measure how much light is getting through is “f stopâ€. Each stop lets through half as much light as the next one. If you go the other way it will let through twice as much light. The typical numbers for this are Æ’1.8, Æ’2.8, Æ’4, Æ’5.6, Æ’8, Æ’11, Æ’16, and Æ’22. Figuring out which f-stop to use is directly related to the distance you are shooting from.
Shutter
The shutter controls how much time the light is allowed to enter the light-tight box. The “shutter speed†is measured in Stops. They are measured in fractions of a second. 1/30th, 1/60th, 1/125th, 1/250th , and 1/500th. Some cameras can go as little as 1/800th of a second, while others can use hours of exposure. It is important to hold the camera steady while taking a photo. You don’t want a blurry pic from shaky hands. When you are setting the shutter speed you want to make sure you know the length of your lens. If you are using a 50mm camera lens you will want to us 1/60th of a second on your shutter speed.
When determining your shutter speed you should also consider what it is you are taking a photo of. If you were going to take a picture of a football player catching a ball you would need a very quick shutter speed so you could capture the photo without making it blurry. On the contrary if you were going to take a picture of the ocean and the waves, a slower shutter speed will help give the effect of rippling water.
Light Meters
Light meters are used to measure the amount of light. This helps to find the proper exposure required for the photo. On most light meters, they will have a digital reader that displays what the proper f-number and shutter speed should be. Most camera’s now have light meters already built in them so you don’t need to buy one.
A light tight box holds the lens, shutter and exposure medium. The body of the camera keeps light out. The body also holds electronics to control the aperture and shutter.
Pixels and Image Sensors
The image sensor captures the light coming through the lens. That light is read by the sensor prior to being stored in the camera memory. A grid is created with thousands of “photosites†or as most of us know pixels. One megapixel is made of up 1 million individual pixels. The more pixels in a picture the better the quality.
The size of the image sensor can also effect the quality of the photo. Larger sensors have larger pixels allowing them to reproduce colors as well as shadows.
LCD Screens
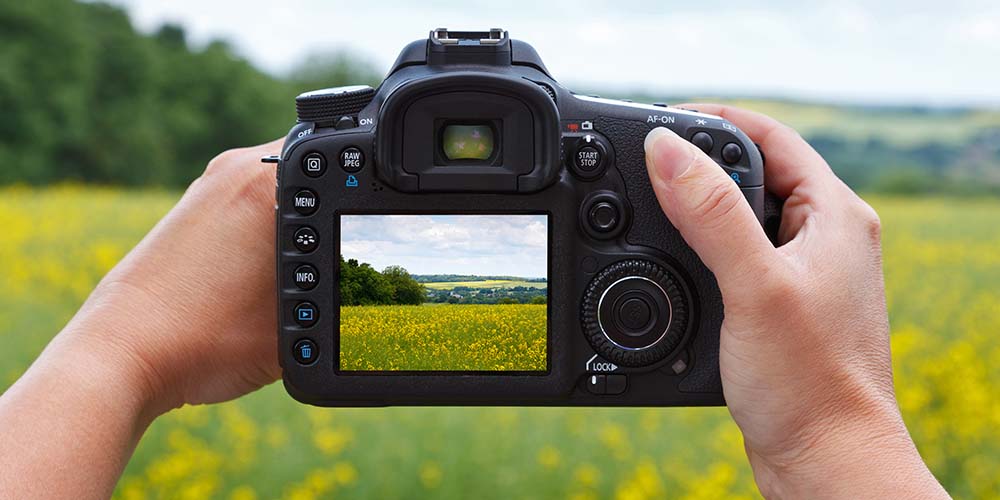
Most cameras manufactured these days have LCD (Liquid Crystal Display) screens. ​ The LCD screen is the part of the camera that allows you to view your subject or scene before taking the picture. It is like watching a live preview. The LCD screen also allows you to see your images immediately after you take a picture.
Looking at the LCD Screen, you are using the "Live View" Mode. The light coming through the camera lens is directed straight to the camera image sensor, recorded and then displayed on the LCD screen.
Additionally, exposure setting information such as aperture setting, shutter speed, ISO setting and histograms will display on the LCD screen making it easier for you to adjust appropriately for the photo.
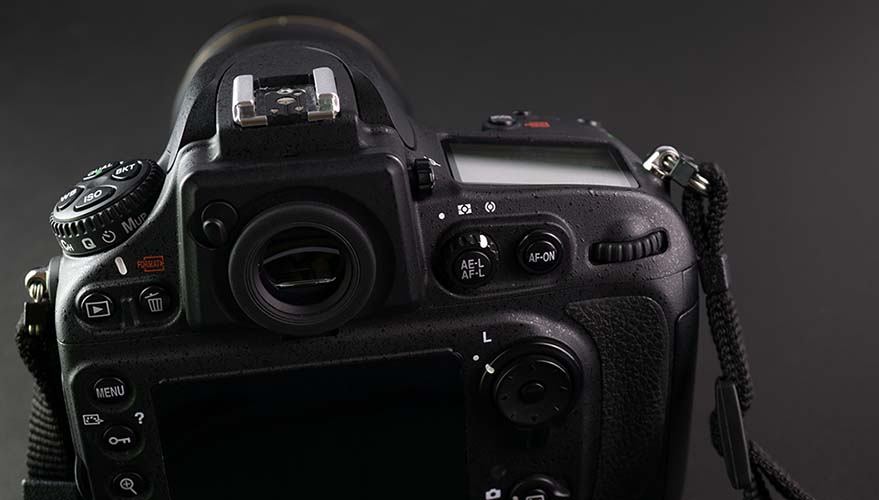
Eye Level Optical Viewfinders
Digital Sir cameras are equipped with eye level viewfinders and most of them also have LCD screens. Many Compact System cameras and Bridge cameras​ are also equipped with eye level viewfinders. You must hold the camera up to your eye to see your subject when using an eye level optical viewfinder. Although this might seem weird to some people, the camera is more stable and there is less of a chance of camera shake when the eye level viewfinder is used. Your arms are closer to your body and keep your frame packed in close and tight. This allows you to stay stable while capturing your photo.
The difference between basic compact cameras and Digital Sir cameras is that Digital Sir cameras use a mirror and pentaprism system to reflect the light coming through the lens directly to the eye level viewfinder. When the shutter release button is pressed the mirror flips up so that the light can reach the image sensor. The mirror system found in Digital SLR cameras is a major reason for its larger size. It also contributes to the higher price of the camera.
Summary
Of course there are more working parts in the camera that contribute to producing an image. From the shutter to the aperture to the LCD screen a lot of components make up the perfect photo. Figuring out the correct combination of each is what makes a photo great or not so great. Be sure to check the settings on your camera before you take your next trip.