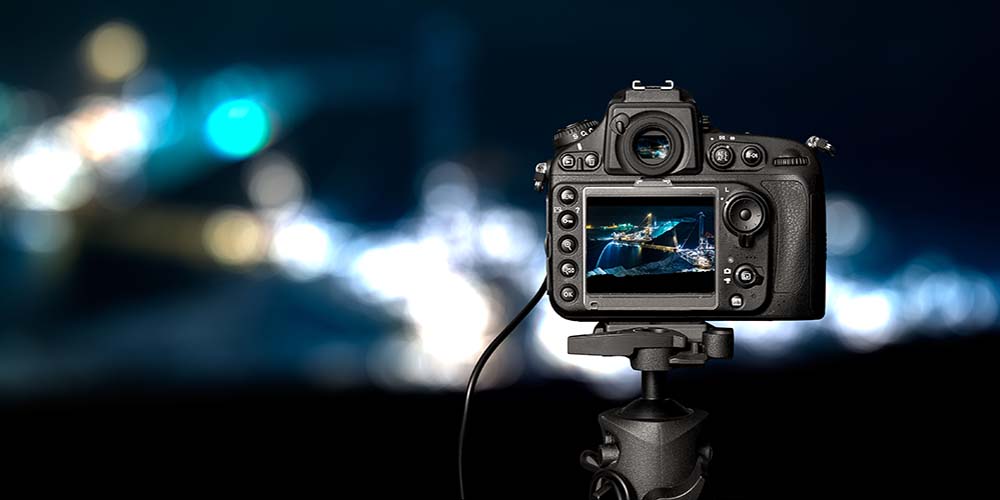
How to Use a DSLR Camera
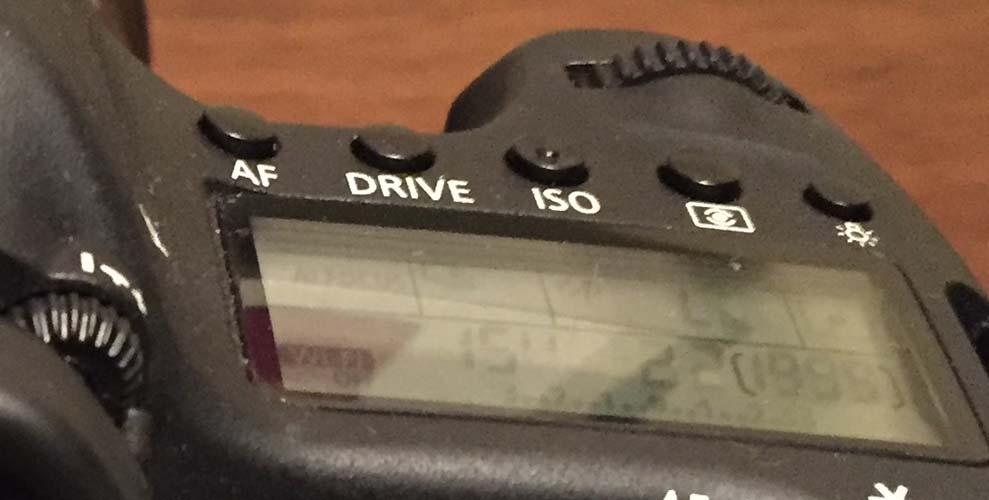
The main distinction between your typical point and shoot camera and a DSLR camera is the ability to adjust the camera's aperture, shutter and ISO. To understand how these three elements work with one another, let's first understand how a photograph is actually composed. Light is required for every photograph you take. Without light, your picture will turn out pitch black. The term "under composed" is used to refer to a photo that appears very dark or black. Too much light is a problem too. If you expose your camera to too much light, the image will appear extremely bright and perhaps even white. This phenomenon is referred to as an "over-exposed" or "blown out" photograph. So what parts of your camera make the difference? Aperture, shutter, and ISO all help control the brightness of a photo.
Why is ISO Hurting Your Pictures?
In most all instances, ISO is actually the enemy of photographers. All photographers have experience their own issues with ISO. Have you ever been out with friends at night and tried to get a group picture but the only lighting you have is street or table lighting? Have you noticed that when you take the picture the image turns out very grainy and not that clear? This is the direct result of ISO. ISO's permitted design is to introduce false light into a scenario where there is little to no light. The drawback of ISO is that while it will artificially make your cameras image look brighter, it will also degrade the quality of the image tremendously. Most professional photographers make it a point to use as little ISO as possible. The reason being when you blow the picture up to be framed you need it to be as clear as possible. ISO can also be ignored in the use of an external flash. A common example of this will be at weddings, where the wedding photographer almost always uses a flash. The reason is simple. The only way to get high quality images of the bride and groom, without the adverse quality of ISO, would be to use a flash.
What is Shutter?
Have you ever seen a landscape photo taken at night where the car traffic and perhaps even the people shown have a beautiful, almost blurred effect? It's almost as if someone had taken a paintbrush and ran it right through the photo. This is a direct effect of how a shutter works with your DSLR. The shutter, in its most simple form, controls the time the light is allowed the penetrate the DSLR camera's sensor. Shutter speed is always referred to in seconds or fractions of a second. The quicker your shutter opens and closes, the darker your photo will be. You may be asking yourself why you want the ability to adjust that feature. Well, if it's a bright and sunny day, too much sunlight will cause an over exposed amount of light to hit your camera and likewise cause the image to be too bright. If we reverse the example and take a photo either at sunset or after the sun has gone below the horizon, a longer amount of light will be required in order to have the image be bright enough so you can see your subject.
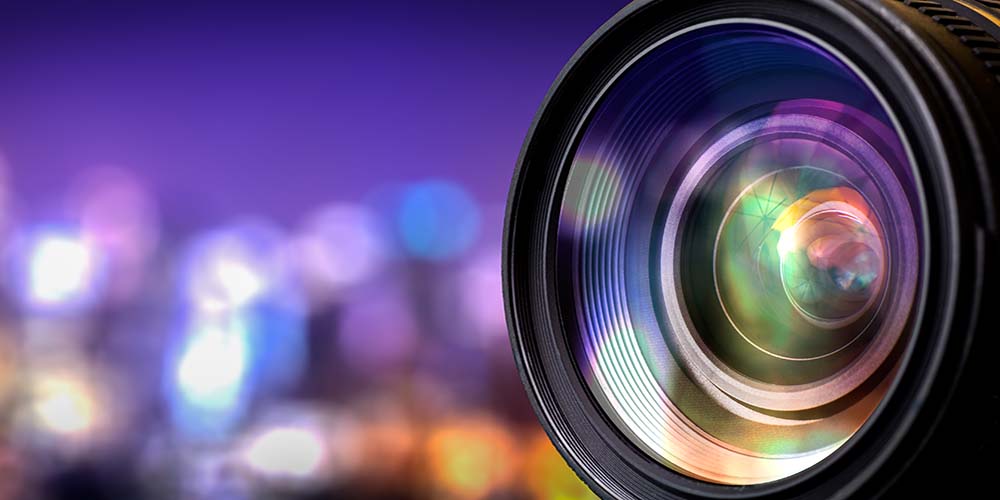
What Does Aperture Control?
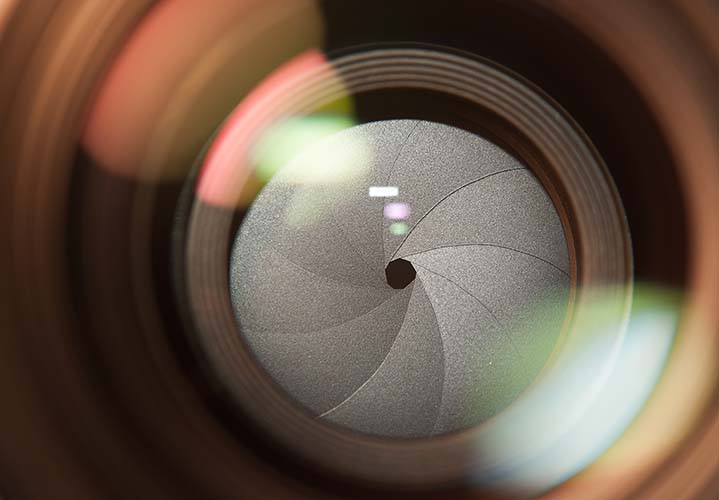
Aperture controls the amount of light being let into the camera. Now notice there was no mention of 'how long' the camera is exposed to light. Aperture has nothing to do with time. To better explain this, go to any window in your home or office with blinds. Preferably blinds that have the ability to open and close. Turn the blinds completely open. The room should obviously become very bright. Now, close the blinds so that it's almost completely dark in the room. This is the perfect example of how aperture works. There is a small "blind" in every camera and the aperture setting opens and closes it. Aperture is referred to in the photography world as F stop. The lower the F stop number, the more light is let into the camera. The higher the F stop, the more the blinds close and the less light is let into the camera. Aperture is effected directly by the lens you attach to your DSLR camera. Most entry level camera and lens kits will offer aperture somewhere between F4 on the low end up to F28 on the higher end.
Best Practices
It is suggested that every novice photographer play with the Shutter, Aperture and ISO settings to get a better feel for how they all work with one another.
- Put your camera on "Auto" and allow the camera to show you what settings it has selected for a given picture. Remember these settings as they are going to be used in the next step.
- Go into "Manual Mode" and replicate the settings you found in "Auto". Now you're ready to play with your camera.
- If you increase or decrease the F stop, shutter time length or ISO, you will notice what artistic effects are happening to your image.
- Experiment with different settings to get a feel for their effect.
There can be a lot of trial and error at the beginning of this process. Different lighting and times of day can produce very different image quality results and often frustrate the beginning photographer. Knowing the intuitive logic behind how your camera works and how light exposure affects the final image will help you zero in on the right settings far sooner.